diy chalk paint second project - yardsale table and 4 chairs
here is the table finished.. and below is what it looked like before i started..
today i am sharing with you my second diy chalk paint project.. the first post can be found here diy chalk paint chair and it has better instructions.. let me start by saying i am not a professional and the instructions and below tips are just things i found that work for me.. :)
i bought the above table at a yard sale for 8 bucks..
it had this bowl of fruit on it and she sold it to me for 2 bucks.. so for 10 dollars i got the table and centerpiece.. i was feeling pretty happy with myself..
the table had been sitting outside for sometime and was looking pretty worn.. which i loved!!
pete flipped it over and tightened all the bolts and cleared out the cob webs for me..
we made the chalk paint by taking a 1/2 cup {4 oz} of plaster of paris and 1/2 cup {4 oz} of warm water and combined well.. once it's thoroughly combined you add 1 cup {8 oz} of your base paint.. we started with a bright white.. {you don't have to combine two colors you can add the chalk concoction to 11/2 cups of whatever color you want.. i am going to do my bathroom cabinets in blue..}
i then added a 1/2 cup {4 oz} of a paint called chicken broth.. it was a "sample" paint from true value that costs about $2.98 and it combined with the white was the perfect color i envisioned for the table.. i kept saying i wanted the color of butter and it actually looks a lot like butter go figure.. now check the link above about applying the chalk paint.. {psst there is not right or wrong way that's the beauty of chalk paint} i added 2 coats of the chalk paint to the top of the table but not the legs..
after i chalk painted it i added the clear wax, here is the top of the table with 1/2 of it cleared.. see the difference in the richness
here is the table with a full coat of the clear wax..
then i added the dark wax.. {again check my post from earlier for tips on applying the dark wax}
i just love the look once you've added the dark wax.. it gives it the antique vintage look..
i loved how the legs turned out even though they were pretty damaged from the elements.
here it is finished.. i love it!! and the center piece looks good with the new color..
love love..
last year pete and i found some chairs at a yard sale..i think we paid 2 bucks a piece.. pete was going to re-finish them for his diy farmhouse table that he built.. well time got away from him and he left them outside and they started to fall a part so he was going to toss them.. when i got the table i knew i wanted these chairs for it.. so pete set out to "fix" the chairs and make them sturdy again.. tightening screws and basically making sure no one would fall on their butt when they sat down..
here are the chairs painted but not waxed of any kind.. see the difference in the color.. the wax really finishes off these chalk paint projects..
this particular chair must have been the dogs chew toy because it was pretty gnawed up.. but that's ok gives it character..
here they are complete with the clear wax and dark wax..
i just loved it in the backyard..
the backyard is coming a long nicely... check back next monday for the diy step by step directions on how we built the fire pit!!
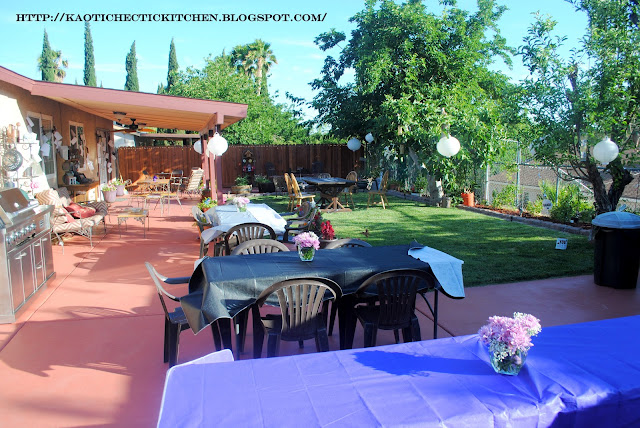
so you can see this is how the backyard looked last year in may and above is how it looks now!! lot's of changes..
enjoy and get diy'ing!!


Comments
Post a Comment